Guide to HDR photography
 What is HDR?
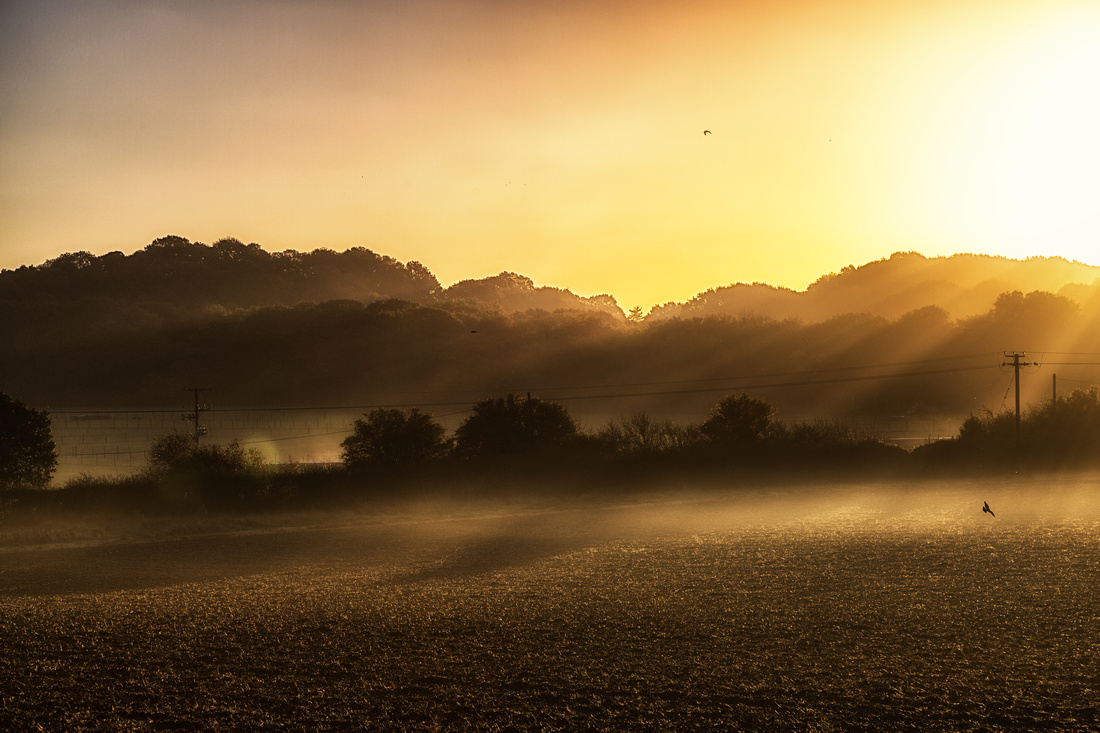
HDR stands for High Dynamic Range and relates to the amount of information that is contained within a photo from the light areas through to the shadows. If you've ever looked at a sunset and thought it would make a great photo but was disappointed when you looked at the back of the camera only to find that you're subject was a silhouette while the sky looked perfectly exposed or perhaps you found the reverse; where the sky is white and bears no resemblance to the amazing sunset you see before you, while you're subject is well lit. Then it may reassure you to know that you are not alone. Both of these scenarios are caused by the fact that you are asking too much of your camera as it's dynamic range is limited and is not able to discern all of the information from light to dark in the same way as our eyes. In fact our eyes are capable of seeing an equivalent of 24 stops of light as apposed to the 10-14 stops of light that most modern camera's are capable of discerning. This is due to our ability to make instant adjustments for the bright and dark areas of the scene before us as our pupils change size depending on the part of the scene we are looking at, all of this information is then translated by our brain and an image is produced which is well exposed and has better dynamic range than can be produced on the back of the camera.
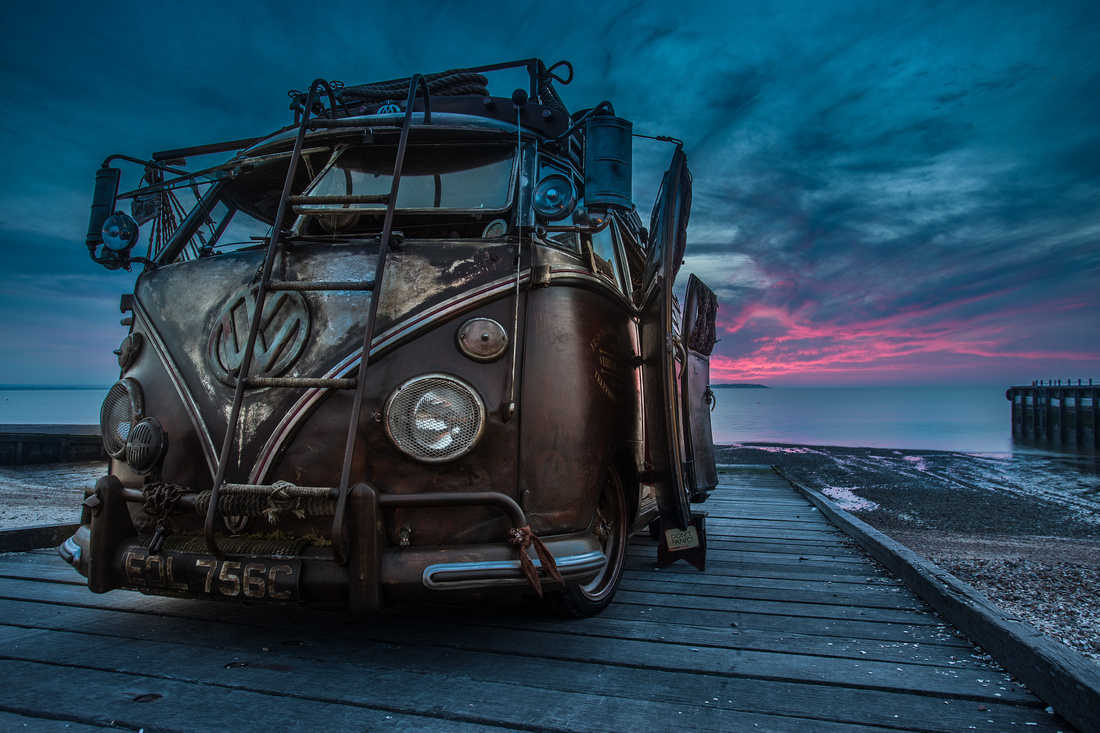
High Dynamic Range (HDR) is a term that is used to describe photos that display more dynamic range than the camera is capable of ordinarily. The below image has a High Dynamic Range but is subtle. I wanted to underexpose for the sky to capture all of the colours, however, this would have resulted in the camper van being underexposed also so I used HDR to ensure that it had a correct exposure whilst retaining the colours and detail in the sky.
How to take a HDR photo
The key to taking a HDR photo is to take more than one shot. I personally find that three photos suffice, however, I have heard of people taking up to nine, I find that this is not usually necessary for most cases and I can't think of a time when I needed to take more than three. Although I would encourage you to experiment with this method and find what works for you. For the most part I try to keep things simple as this tends to yield better results.
The reason for taking multiple images is to take a range of photos of over various exposures which, in the case of a landscapes for example, will expose for the sky and the foreground. In post production you will merge the images together resulting in a photo which benefits from having the dynamic range from each exposure.
When taking the different exposures it is easier to let the camera do the work for you. Most Modern DSLRs have a "bracketing" function this can be accessed through the menu system, on the quick menu (for canon users) or you can set up a custom setting with the bracketing options preset to that custom setting. Please see your manual or research the net on how to bracket photos on your particular camera. The option to bracket photos allows you to choose a number of photos, as stated above I would go with three, you are also able to state the gap in exposure or ev values. My preferred option is -2 stops 0stops and +2stops. Which means that my exposures will be under and over exposed by 2 stops of light while my third photo will have a normal exposure. I find these three exposed photos provide a good dynamic range for me to work with and suits my style of photography. Although you may wish to experiment with these values to suit own your needs.
When bracketing your shots I would advise that you make sure you put the 2 second timer on as this will alert the camera to the fact that you only want to press the Shutter button once and it will do the rest of the work for you. This has the added advantage of taking the photos quickly and reduces camera shake or movement of the frame as you don't need to press the button for each of the three shots. The goal here is make each photo identical as they will need to merge together in post production. I find that using a tripod really helps as this eliminates any movement, however, this is not necessary and I usually find myself handholding many of my HDR photos as I don't always want to lug a tripod around with me.
If you're camera does not have a bracketing feature, don't despair, you will simply have to perform the above process manually. Keeping in mind to change you shutter speed to alter the exposure as any change in aperture will have an impact on the depth of field for each image as well as the exposure. Using this method it is likely that you will need a tripod and I would also recommend a shutter release to reduce camera shake with each press of the shutter button.
Back on the computer
There are various ways to merge or blend photos together and I have tried and tested a few, in this blog I will discuss the method that I currently use which I find works the best for me. I use Lightroom and photoshop for my post processing. I initially take the images in to Lightroom and do any adjustments to them such as checking the remove Chromatic Aberrations button and maybe the correct lens profile button. I will then highlight the three photos that I wish to merge, right click and take them in to Photoshop using the merge to HDR pro feature. This merges the images together. The reason I use Photoshop is because it gives me an option to export the files as a 32 bit TiFF file. This is good news as it allows me to play around a lot more with the image without introducing noise or banding. I also use the "remove ghosts" option. This is valuable because not all three images are likely to be the same, for example with a landscape there may be a bird in the sky that will have moved position between the first and third shot. Therefore the remove ghosts option will allow you take one of the frames and use this as the reference frame any deviation in the other 2 photos will be matched to the reference photo and the bird will appear sharp. This is also very useful when taking photos of waves or trees on a windy day.
Following this the photo is saved and imported back in to Lightroom (Command + W on a mac and Ctrl + W on PC) where you can edit the photo as normal. I would usually take down the highlights and bring up the shadows to increase the dynamic range and then process from there.
If you do not own Lightroom and Photoshop there are software options out there my favourite being Photomatix, which is a stand alone programme and allows you to edit HDR photos with a simple user interface. A word of caution though it is very easy to get carried away with some of the presets and you can end up with photos that look very unrealistic as they take on a painterly and gritty look. Some people really like this style, and I have been guilty of experimenting with this when I was first introduced to HDR and I am no longer a Fan.I now use HDR more conservatively to boost the dynamic range to a credibly and natural level.
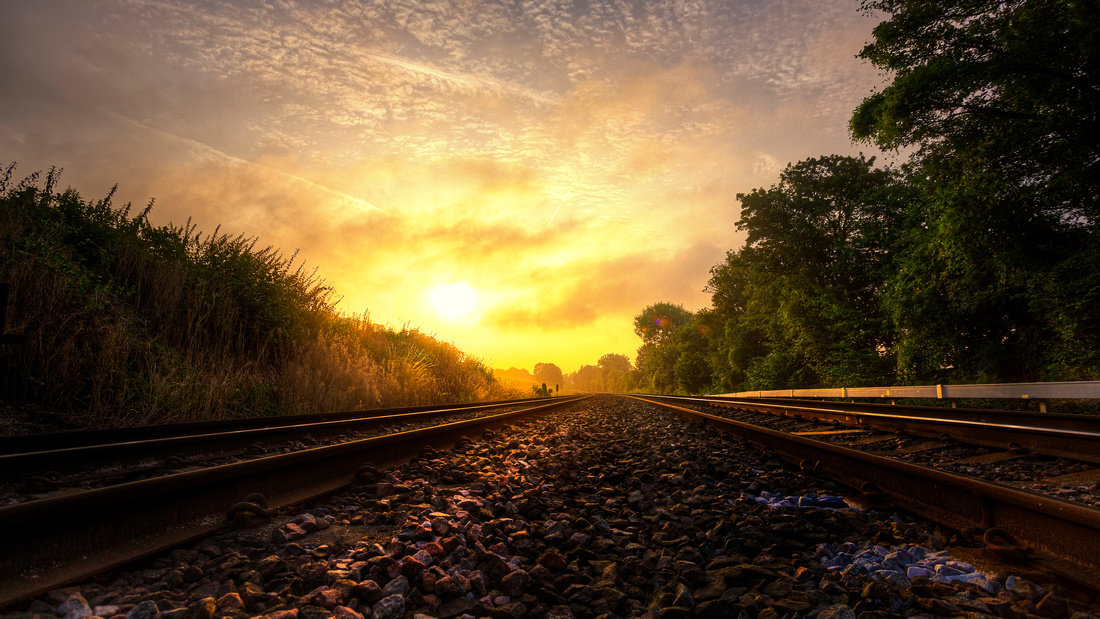
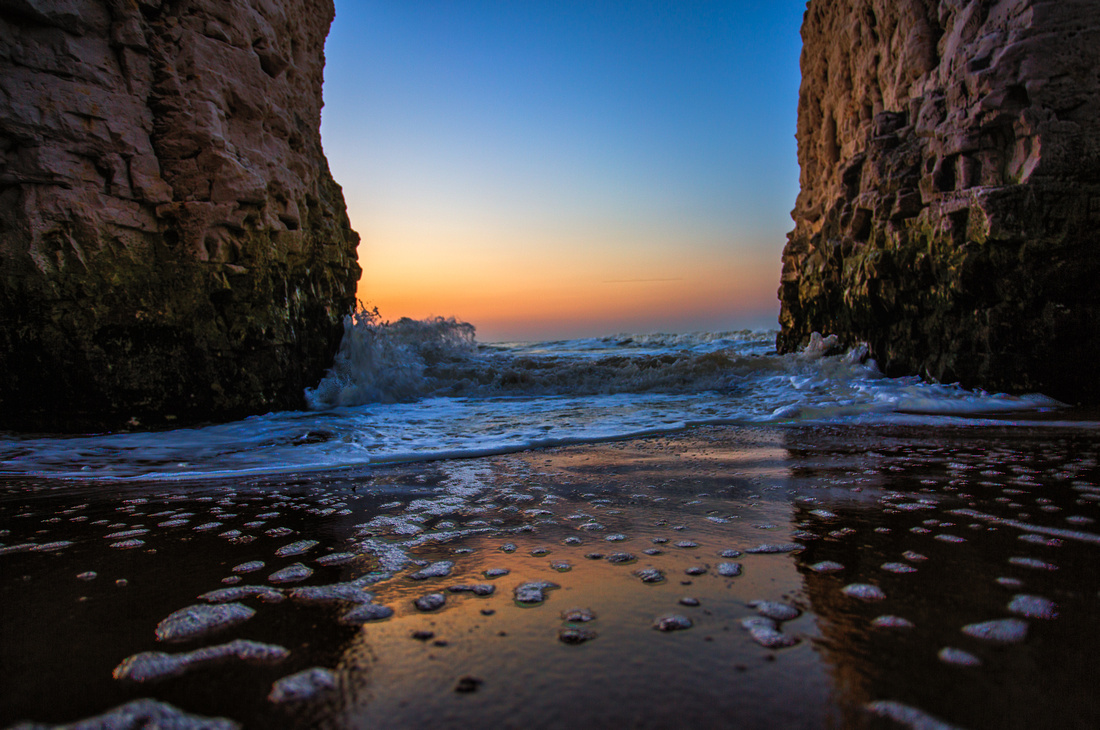
The key thing to remember when using HDR is that you want to emulate or enhance what you see before you and to have fun doing it, HDR can produce some extreme results and it's easy to get carried away, as you can see from the photos in this blog I have kept the shadows in the images to provide contrast, however none of the photos would have been possible as they do stretch the cameras limits in terms of the dynamic range contained within the images.
